
Don't Splash Flares: How to Stun Monsters and Escape
Don't Splash flares briefly stun monsters, giving you time to move or help a teammate. Learn how to use them and what the Flare Radius upgrade improves.
Jump to
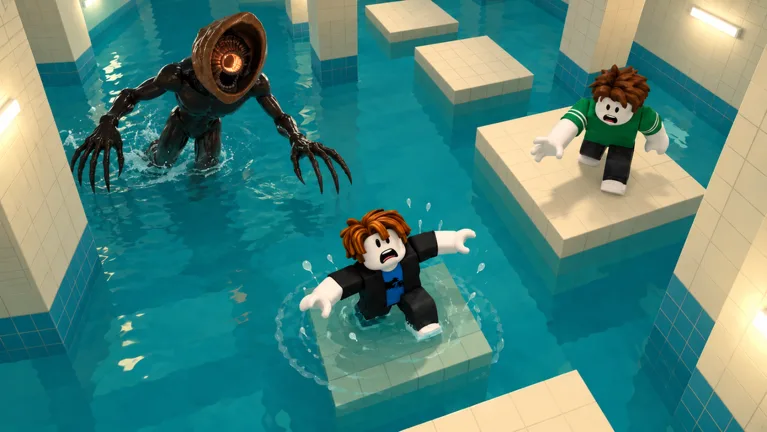
What Do Flares Do in Don't Splash?
Don't Splash flares briefly stun monsters, giving you a window to cross a dangerous section or help a teammate. That pause matters when a splash draws the monster toward someone in the water. Decide where you need to go before using one so you can put the stun to work immediately.
The monster reacts to water sounds, including splashes from players and thrown objects. Pebbles, bottles, and wind-up toys draw its attention; a flare temporarily stops its movement. Those effects call for different decisions: a distraction needs a useful destination, while a stun needs a clear follow-up action.
Keep your next landing point in view. A paused monster still leaves you with the same jumps, moving bridges, and sinking platforms to handle.
Official page: Don't Splash (roblox.com)
How to Time a Flare During a Crossing
Plan the movement before committing the tool. From a stable platform, identify the next foothold and check what happens after you land.
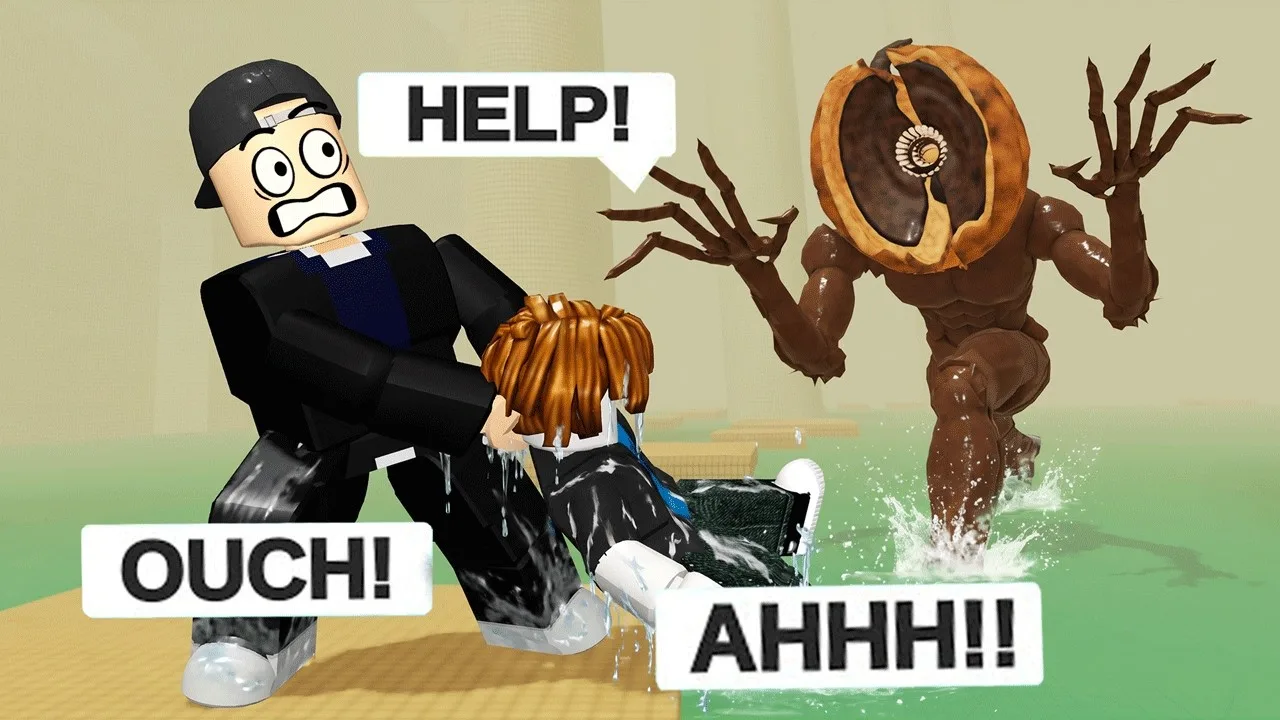
- Read the obstacle. Watch a rotating bridge’s direction or a moving platform’s position.
- Choose your landing point. Include the following jump if the next platform sinks.
- Use the stun window to move. Avoid spending that pause deciding which direction to take.
- Reassess from stable footing. Check the monster and the next section before continuing.
On sinking platforms, prepare the onward jump before leaving safety. The flare affects the monster, but the platform still demands quick movement.
For a rotating bridge, watch when its end approaches the next path. Coordinate the crossing with that opening instead of assuming the stun will solve an awkward jump. The tool buys an opportunity; your route determines whether you can use it.
What the Flare Radius Upgrade Changes
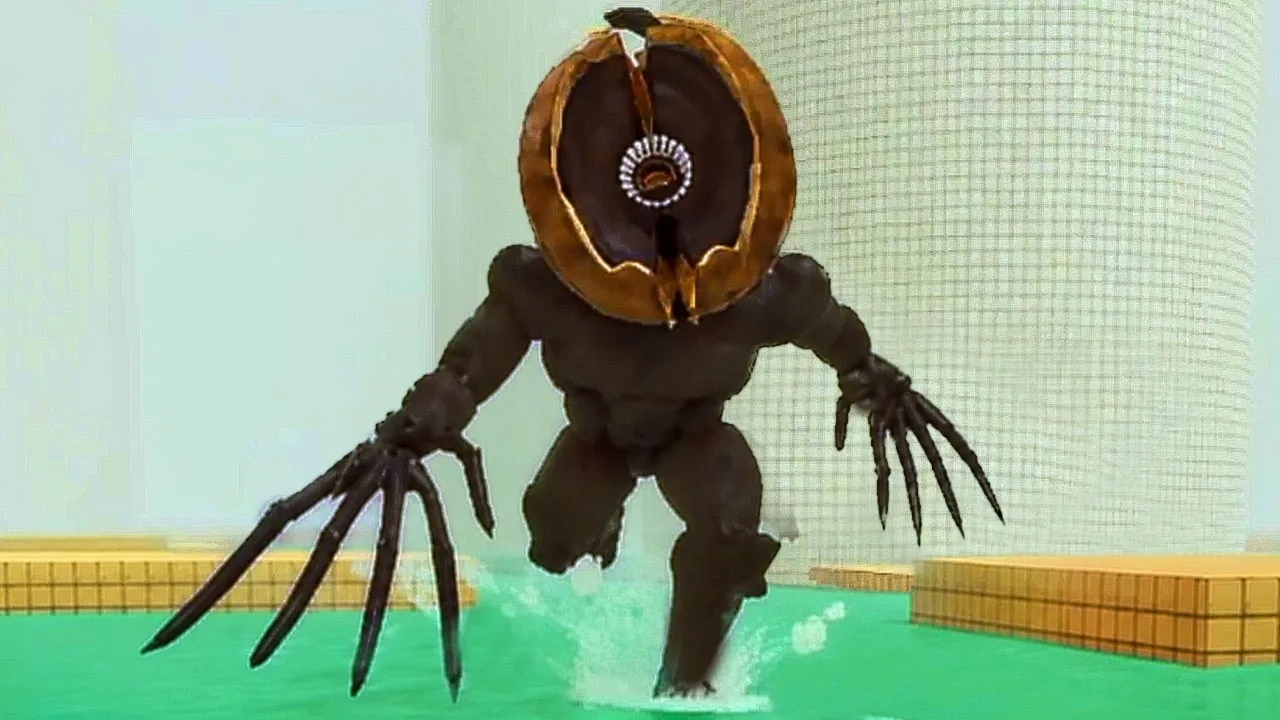
Flare Radius improves how far flares reach and how long their effect lasts. Use it to address situations where the stun’s coverage or duration limits your planned crossing.
The dedicated paid upgrade offers:
- Max Flare Radius: 75 Robux.
- Upgrade level: 3/3 forever.
You can also spend Coins earned by clearing rooms and escaping maps on lobby upgrades.
Choose upgrades around the problem that keeps ending your runs. If you need more flare coverage or duration, consider Flare Radius. If your distraction lands too close to your route, look at Throwing Range instead. Pebble Skipping adds more splashes before a pebble sinks, while Rope Reach and Rescue Speed address teammate rescues.
Avoid expecting one upgrade to fix every tool. Match the purchase to the action you need to improve.
Using a Flare to Support a Rescue
A fallen teammate creates two jobs: controlling the monster and getting the player back onto a platform. A flare can provide a brief pause while another player uses the rescue rope.
Coordinate before everyone crowds the edge:
- Have the rescuer stand on stable footing within rope reach.
- Assign another player to handle the stun or distraction.
- Keep a landing space clear for the rescued teammate.
- Watch the monster while the rescue happens.
Use short calls such as “I have the flare” and “Get the rope ready” to make the next action clear. Avoid having both players spend their attention on the same task while the rescue goes unattended.
Check your own footing before approaching the water. Falling beside your teammate adds another player who needs help.
Build Your Loadout Around Different Jobs
You start with three equipment slots, so give each carried tool a purpose. Pair a stun tool with a distraction when you want options for both stopping the monster and drawing it away from your route.
Place pebble and bottle splashes away from your intended landing point. Luring the monster toward the platform you need next puts the threat along your path.
For group runs, coordinate who carries the rescue rope and who handles monster control. If you want additional loadout space, the 4th Tool Slot costs 99 Robux, and the 5th Tool Slot costs 149 Robux. Decide which extra tool you intend to carry before buying another slot.
Continue with
 Don't Splash How to Use Rope: Rescue Teammates SafelyDon't Splash how to use rope: learn how to rescue your teammates, improve Rope Reach and Rescue Speed, and use distractions to make safer saves in Roblox.
More in Tools
See all Tools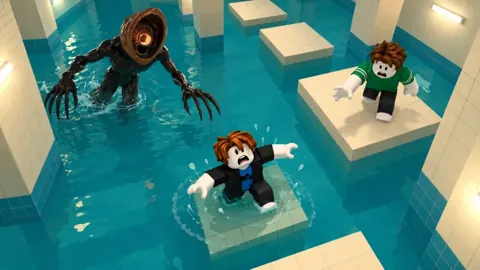
Continue exploring
Don't Splash Walkthrough: Beat All 9 Stages and Escape
Use this Don't Splash walkthrough to clear all nine stages, handle moving platforms, solve the camera puzzle, and reach the exit with fewer risky jumps.
Don't Splash Bathhouse: Map Update and Gear Explained
Explore the Don't Splash bathhouse map, its November 7 update, and available gear upgrades. Compare Robux prices and see how the Fall Pack's bonuses work.
Join the community
Official channels for news, updates and player help: