
Don't Splash Solo Guide: Survive Without a Teammate
Master Don't Splash solo with party setup, difficulty choices, distraction tips, and upgrade priorities to help you cross rooms and reach the exit alone.
Jump to
How to Start a Solo Run
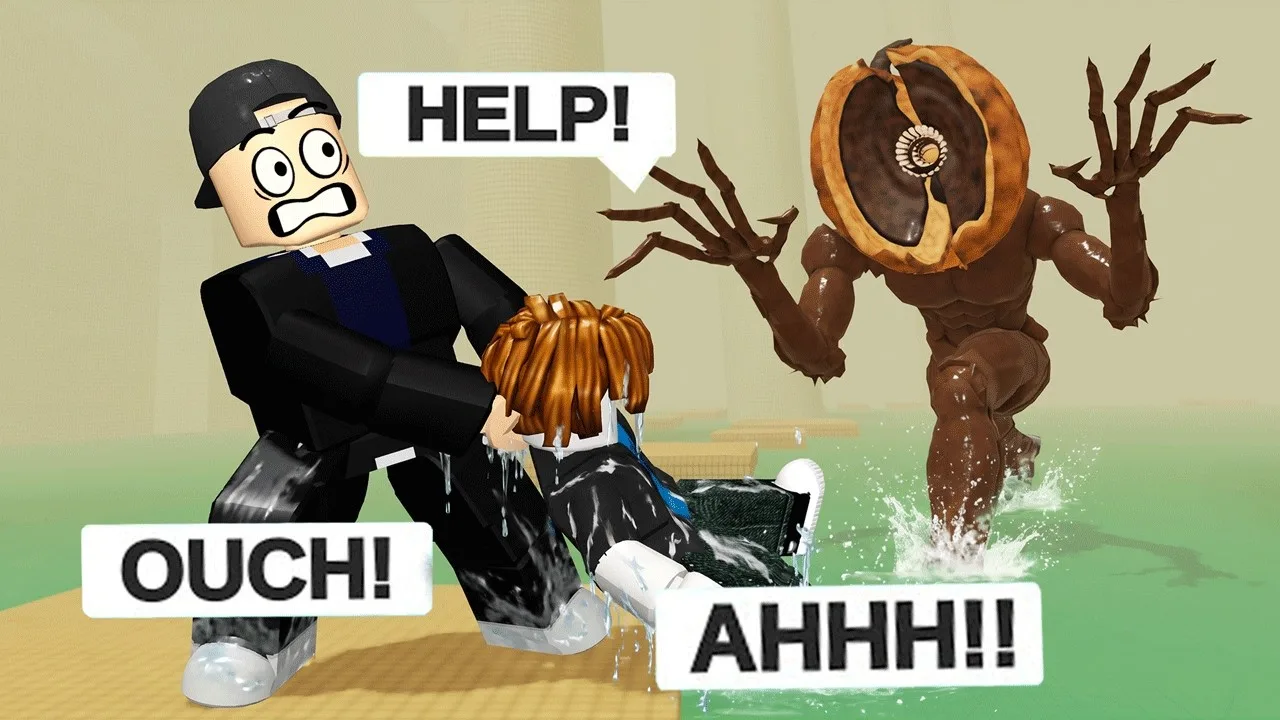
One bad landing can turn a quiet crossing into a monster attack. Don't Splash solo puts every jump and distraction in your hands, making your next landing worth planning. To play alone, enter a lobby portal, create a party, and select the solo option before choosing your difficulty.
Servers hold up to 10 players, but runs support solo play or groups of two, three, or four players. Choose the solo option for an individual run.
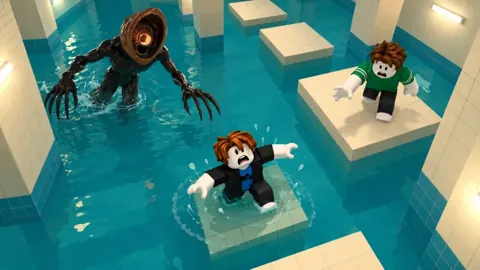
Your objective is to cross the water-filled rooms and reach the exit. Bridges and platforms provide a route through, while a sound-sensitive monster makes splashing dangerous.
Official page: Don't Splash (roblox.com)
Choose Your Difficulty
Difficulty changes room size, platform availability, and the Coins earned for completing rooms.
| Difficulty | Room layout | Coin rewards | Entry requirement |
|---|---|---|---|
| Easy | Small rooms with plenty of platforms | Lowest | Available from the difficulty selection |
| Normal | Slightly larger rooms with fewer platforms | Higher than Easy | Available from the difficulty selection |
| Hard | — | Highest | Complete the Normal map twice |
Start on Easy to practice judging gaps and landing on platforms. Move to Normal when you want to work toward unlocking Hard: you need two Normal map completions.
Keep the reward difference in mind, but choose a difficulty whose crossings you can handle. More Coins per room only help when you actually finish that room.
Cross Rooms Without Drawing the Monster
The monster responds to splashes from both players and thrown objects. Use that behavior to control where you draw its attention.
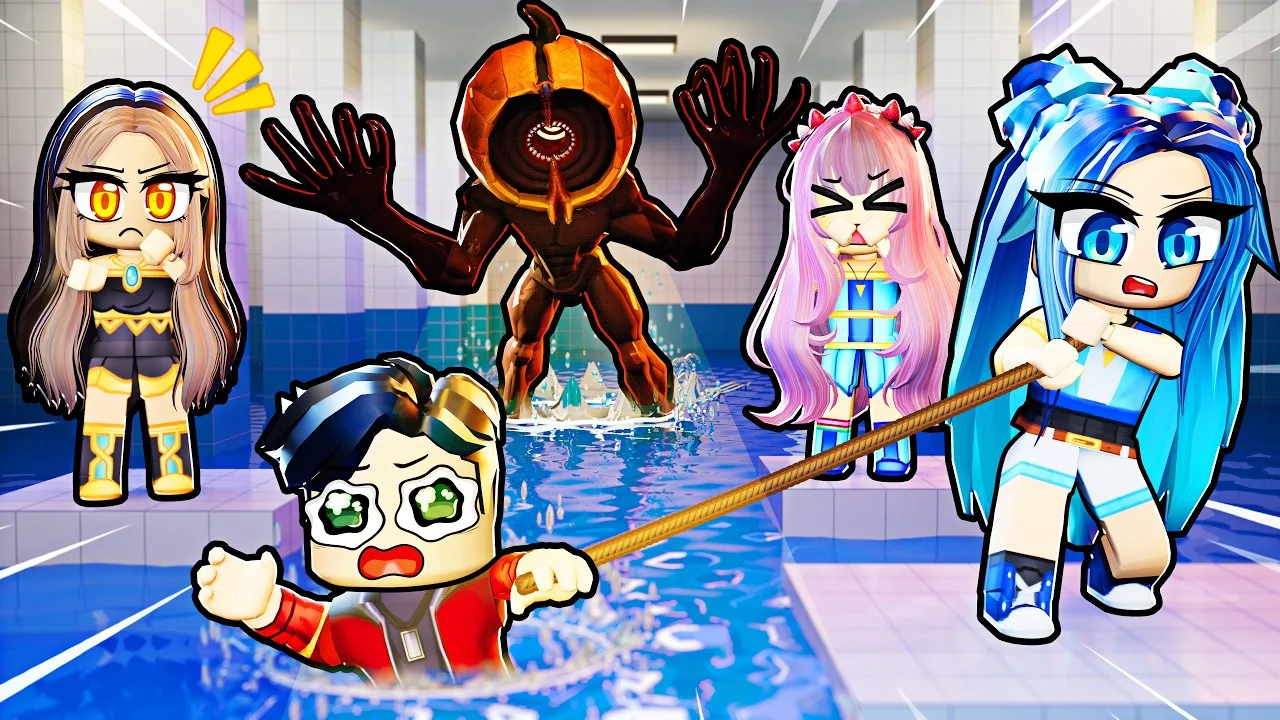
Before leaving a platform, identify your next landing and judge whether the jump is within reach. Rooms can contain rotating bridges and sinking platforms, so account for movement instead of aiming only at where a surface is now.
Use this sequence when a crossing needs a distraction:
- Identify the platform or bridge you want to reach.
- Pick a throwing destination away from that route.
- Throw a Pebble or Bottle into the water to draw the monster toward its splash.
- Use the brief distraction to cross toward your landing.
Valves also make noise when activated. Prepare a distraction before interacting with one, rather than waiting until you have already attracted attention.
A thrown item creates an opportunity; it does not remove the need to land accurately. Keep your destination in view instead of following the monster with your camera throughout the jump.
Prioritize Throwing Range and Pebble Skipping
Spend your early upgrade Coins on Throwing Range and Pebble Skipping for solo runs. Both improve the distractions you can create without another player.
- Throwing Range sends Pebbles and Bottles farther. Use that extra distance to place splashes farther from your intended crossing.
- Pebble Skipping lets Pebbles produce more splashes before sinking. Use those repeated splashes when setting up a distraction.
Match other upgrades to equipment you use. Toy Battery extends the wind-up toy's running time, while Flare Radius increases a Flare's reach and duration.
Leave Rescue Speed behind those solo priorities: its benefit is faster teammate rescues.
Manage Equipment and PC Controls
You begin with three equipment slots. Pebbles and Bottles can be purchased with Coins, and objects can also be picked up from platforms during a run.
Collect available objects along your route to supplement what you brought. Before throwing one, choose both its destination and your next landing so you can act during the distraction.
On PC, use these controls:
- Move: W, A, S, D or the arrow keys.
- Jump: Spacebar.
- Interact: E.
- Throw: Equip an item from the hotbar, then left-click.
Practice selecting and throwing an item while standing on a platform. Keep that input sequence familiar before attempting a crossing that depends on a distraction.
Continue with
 Don't Splash Hard Mode: How to Unlock It and PrepareUnlock Don't Splash hard mode by beating Normal twice. Learn how to handle sinking platforms, remember safe tiles, and use pebbles before your next run.
Continue exploring
Don't Splash How to Escape the Monster: Survival Tips
Don't Splash how to escape the monster: learn to redirect it with pebbles, use flares, cross tricky platforms, and finish the exit puzzle with less risk.
Don't Splash Ending: Final Puzzle and Hard Mode Guide
Reach the Don't Splash ending by photographing all four pillar numbers, surviving the final rooms, and escaping. Learn how Normal clears unlock Hard mode.
Join the community
Official channels for news, updates and player help: