
Don't Splash Beginner Guide: Survive All Nine Stages
Use this Don't Splash beginner guide to time tricky jumps, handle moving platforms, solve the final camera puzzle, and spend Robux wisely on useful tools.
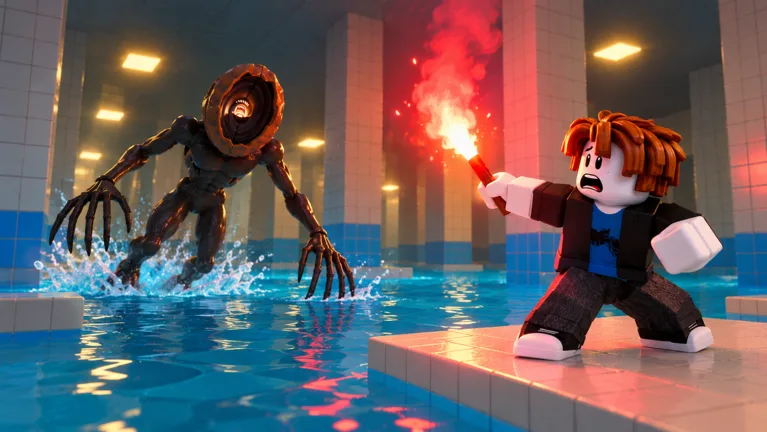
Start on Easy and Keep Your Feet Dry
One missed landing can turn a quiet crossing into a chase. This Don't Splash beginner guide walks you through the platforming hazards, distractions, and puzzles that stand between you and the exit. Learn when to move and when to wait, because falling into the water leaves you moving slowly with creatures nearby.
- Choose Easy while learning the rooms. Practice the jumps and puzzle instructions before taking on Normal, where three creatures patrol the course. Beating Normal twice unlocks Hard.
- Read each room's instructions before committing. The challenge changes from jumping between pillars to remembering tiles and photographing numbers. Identify the objective before choosing your route.
You can play DONT SPLASH on Roblox. Bacon Theory's obby supports up to 10 players per server.
Handle Fixed Ledges and Sinking Platforms
 Image: Roblox / Bacon Theory
- Match your jumps to the gap. Pillar Hall introduces platform-to-platform jumping, while the broken walkway mixes narrow ledges, short jumps, and wider platforms separated by longer gaps. Aim for a clear landing rather than attempting a shortcut across water.
Before jumping, locate the platform you intend to land on and the next place you can go. Avoid chaining jumps toward a route you haven't inspected.
- Keep moving across sinking platforms. These platforms drop after you step onto them. Choose your next landing before boarding one, then continue across instead of stopping to plan while it sinks.
The distinction matters: waiting helps with rotating obstacles, but lingering on a sinking surface costs you the platform beneath your feet.
Time Rotating, Moving, and Drifting Platforms
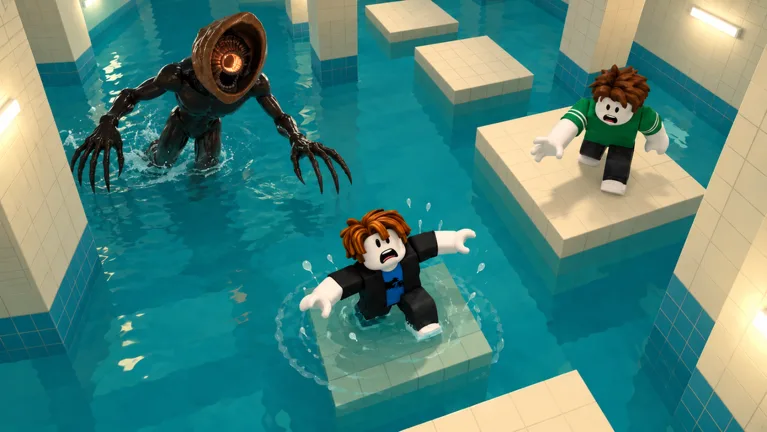 Image: Roblox / Bacon Theory
-
Wait for the rotating bridge to line up. Watch its movement from a stable position. If the crossing angle looks awkward, let it rotate again rather than forcing a long jump. Check the next landing before stepping onto the bridge.
-
Watch where moving platforms are going. Time your takeoff around their motion, and aim for where the landing surface will be when you reach it. Pause somewhere stable to study the movement before attempting another jump.
-
Read the arrows on drifting platforms. Their push can carry you into the water. Account for that direction as soon as you land, then steer toward your next platform before the drift takes you past your intended route.
Keep checking the exit's position. A reachable platform is only useful if it takes you toward the crossing you need.
Read Memory Bridge and Crushing Walls
- Watch Memory Bridge light up before crossing. Remember the illuminated route and follow those tiles. If you lose track, wait for another lighting sequence from a safe position instead of guessing.
Break the path into short stretches you can remember. The tiles light up repeatedly, so use those opportunities to refresh your route before advancing.
- Move into the open lane at Crushing Walls. The sliding walls shove players toward the water, and one lane stays open. Watch for the red warnings and leave the threatened area before the wall reaches you.
Focus on the open lane rather than rushing straight toward the exit. This room rewards reading the warning and repositioning in time.
Photograph the Four Numbers Before Leaving
- Use your camera on numbered pillars in the final room. The objective is to find four numbers and photograph each one. Not every pillar has a number, so inspect the surfaces before spending time trying to capture them.
Work through the room deliberately:
- Look for a visible number before approaching a pillar.
- Photograph each numbered pillar you find.
- Use pebbles to distract nearby creatures while you search.
- Collect all four numbers before heading to the exit.
Keep scanning for the remaining numbered pillars instead of repeatedly returning to blank ones.
Use Pebbles Carefully and Understand Paid Tools
- Throw pebbles away from your intended route. They provide a noise distraction, but a throw can hit a pillar or platform instead of reaching the spot you wanted. Check the throwing path, then watch the creatures' response before moving.
Pick up additional pebbles along your route when you need another distraction. Avoid throwing them without a specific destination in mind.
Paid unlocks include the following options:
| Unlock | Price | What it provides |
|---|---|---|
| Rescue Rope | 30 Robux | Permanent reusable rope unlock |
| 2x Cash | 99 Robux | Doubles cash earned during runs permanently |
| 4th Tool Slot | 99 Robux | One additional loadout slot |
| 5th Tool Slot | 149 Robux | A second additional loadout slot |
Read the benefit carefully before purchasing. Extra loadout slots increase carrying capacity, while the cash pass changes earnings.
The Fall Pack costs 150 Robux and includes double cash and one free self-revive per run until November 14, plus the permanent Leaf Trail and Raven Aura. Keep that deadline in mind when comparing its temporary run benefits with permanent unlocks.
Continue with
 Don't Splash Inspired By: Poolrooms and Horror RootsWhat is Don't Splash inspired by? Explore its Poolrooms and House of the Locust roots, then learn how water, sound, and platforms shape each tense escape.
More in Guide
See all GuideContinue exploring

Don't Splash Behind the Tiles: Badge Clue Explained
Explore Don't Splash behind the tiles, the Behind the Tiles badge's radio clue, and memory bridge mechanics to keep in mind during your next Roblox run.
Don't Splash Hard Mode: How to Unlock It and Prepare
Unlock Don't Splash hard mode by beating Normal twice. Learn how to handle sinking platforms, remember safe tiles, and use pebbles before your next run.
Join the community
Official channels for news, updates and player help: