
Don't Splash Walkthrough: Beat All 9 Stages and Escape
Use this Don't Splash walkthrough to clear all nine stages, handle moving platforms, solve the camera puzzle, and reach the exit with fewer risky jumps.
Jump to

Prepare Your Loadout
A missed jump can leave you moving slowly through the water with a creature closing in. This Don't Splash walkthrough takes you through all nine stages, from Pillar Hall to the final camera puzzle. Learn where to wait, when to keep moving, and how to reach the exit without gambling on blind jumps.
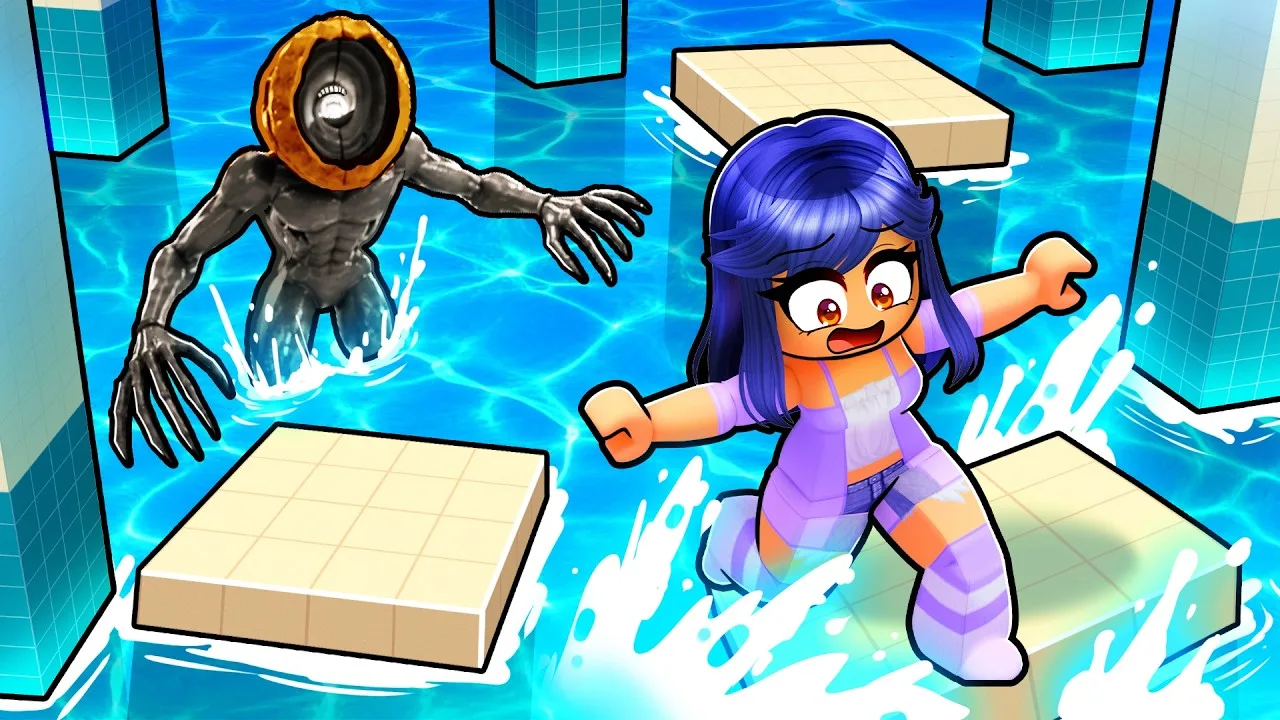
DONT SPLASH is Bacon Theory’s Roblox obstacle course, with up to 10 players per server. Its water hazards make landing position just as important as jump distance.
Before starting:
- Equip pebbles. Throw them away from your intended route to draw the creatures toward the noise.
- Check the coin upgrades. Throwing Range and Pebble Skipping are available upgrades for your pebble tools.
- Keep your throwing path clear. A pebble can hit a pillar or platform instead of reaching the water you aimed for.
Pick up additional pebbles along the route when you can reach them safely. Save them for crossings where a creature is close enough to interfere with your next move.
Official page: Don't Splash (roblox.com)
Stages 1–2: Pillar Hall and Broken Walkway
These opening areas introduce the basic problem: reach the exit by jumping between dry surfaces while creatures move through the surrounding water.
 Image: Roblox / Bacon Theory
Pillar Hall
- Look across the platforms and identify your next landing before jumping.
- Cross from platform to platform toward the exit.
- When a creature crowds your route, throw a pebble away from the crossing before committing.
Avoid turning every gap into a shortcut attempt. Choose jumps with a clear landing surface, especially while learning how far your character travels.
Broken Walkway
The broken route mixes narrow ledges and shorter jumps with wider platforms and longer gaps.
- Line up on each ledge before taking off.
- Check the next platform’s position rather than repeating the same jump rhythm.
- Follow the route toward the exit, checking your direction at each turn.
Use the wider platforms to look ahead. Rushing through a turn can send you back toward an area you already crossed.
Stage 3: Sinking Platforms
Here, stopping on the wrong platform lets your landing surface sink toward the water.
- Identify your next jump before stepping onto a sinking platform.
- Land and continue across without lingering.
- Keep checking where the exit lies so you do not waste time moving in the wrong direction.
Plan while standing on stable ground. Once you enter a sequence of sinking platforms, keep moving toward your chosen landings.
If you need to distract a nearby creature, make the throw before starting the crossing rather than stopping halfway across.
Stage 4: Rotating Bridge
The rotating bridge rewards patience between crossings. Wait for a useful alignment instead of stretching a jump across an awkward gap.
- Watch the bridge turn from a stable platform.
- Step or jump aboard when it lines up with your position.
- Ride the rotation until your next landing becomes reachable.
- Move onto the next platform, then reassess the following crossing.
Wait for another rotation if you miss your opening. Trying to recover with a desperate leap can put you straight into the water.
Keep an eye on creatures near the bridge’s destination. Use a pebble to draw one away before making the final jump.
Stages 5–6: Moving Platforms and Drifting Platforms
Both stages change where you will land, but they demand different adjustments.
Moving Platforms
Every platform moves, so aim for where your destination is going.
- Watch a platform’s movement before leaving your current surface.
- Jump when the gap gives you a manageable crossing.
- After landing, check the next platform before jumping again.
Keep checking the exit’s position. Following nearby platforms without looking ahead can send you away from the finish.
Drifting Platforms
The arrows push your character, creating the risk of being carried into the water.
- Read the arrows before stepping onto a platform.
- Adjust your movement against the push to stay away from the edge.
- Line up the next jump before the drift carries you out of position.
If you need a distraction, aim past nearby obstacles. A pebble caught against a pillar will not reach your intended destination.
Stage 7: Memory Bridge
Watch the tiles light up, remember the route, and cross using that information. Guessing can put you onto a tile that disappears beneath you.
- Wait for the illuminated route before starting.
- Remember the next sequence of tiles.
- Cross the portion you can recall.
- When uncertain, wait for the tiles to light up again before continuing.
Use the repeated lighting instead of guessing. You do not need to force the entire crossing from one glimpse.
Avoid copying a fixed left-right sequence from another run. Read the bridge in front of you and follow its illuminated tiles.
Stage 8: Crushing Walls
The sliding walls can shove you into the water, but one lane stays open. Red warnings tell you where to move out of the way.
- Watch the lanes ahead for the next wall movement.
- Move out of the red warning area.
- Cross through the open lane.
- Recheck the next section before advancing.
Keep enough room to change lanes when a warning appears. Pick up a reachable pebble if you need one for the final area, but finish avoiding the wall before stopping for it.
Stage 9: Photograph the Pillar Numbers and Escape
The final objective is to find four numbers on the pillars and photograph each one with your camera. Inspect the pillar faces carefully while managing the creatures around you.
- Move between dry platforms and look for a numbered pillar.
- Aim the camera at the number and take its photo.
- Continue searching until you have photographed all four numbers.
- Use pebbles to draw creatures away from pillars you need to inspect.
- After completing the photo objective, head to the exit.
Some pillars have no number, so move on when the camera indicates that you have found an empty one. Photograph the numbers in your current run rather than relying on a memorized combination.
Normal mode adds the pressure of three creatures. Keep checking their positions before crossing or stopping to use the camera. Beat Normal twice to unlock Hard.
Continue with
 Don't Splash Beginner Guide: Survive All Nine StagesUse this Don't Splash beginner guide to time tricky jumps, handle moving platforms, solve the final camera puzzle, and spend Robux wisely on useful tools.
More in Guide
See all Guide
Continue exploring
Join the community
Official channels for news, updates and player help: