
Don't Splash Poolrooms Guide: Every Obstacle Explained
Master Don't Splash poolrooms with tips for sinking platforms, rotating bridges, memory tiles, monster distractions, and camera puzzle at the final exit.
Jump to
How to Escape the Poolrooms
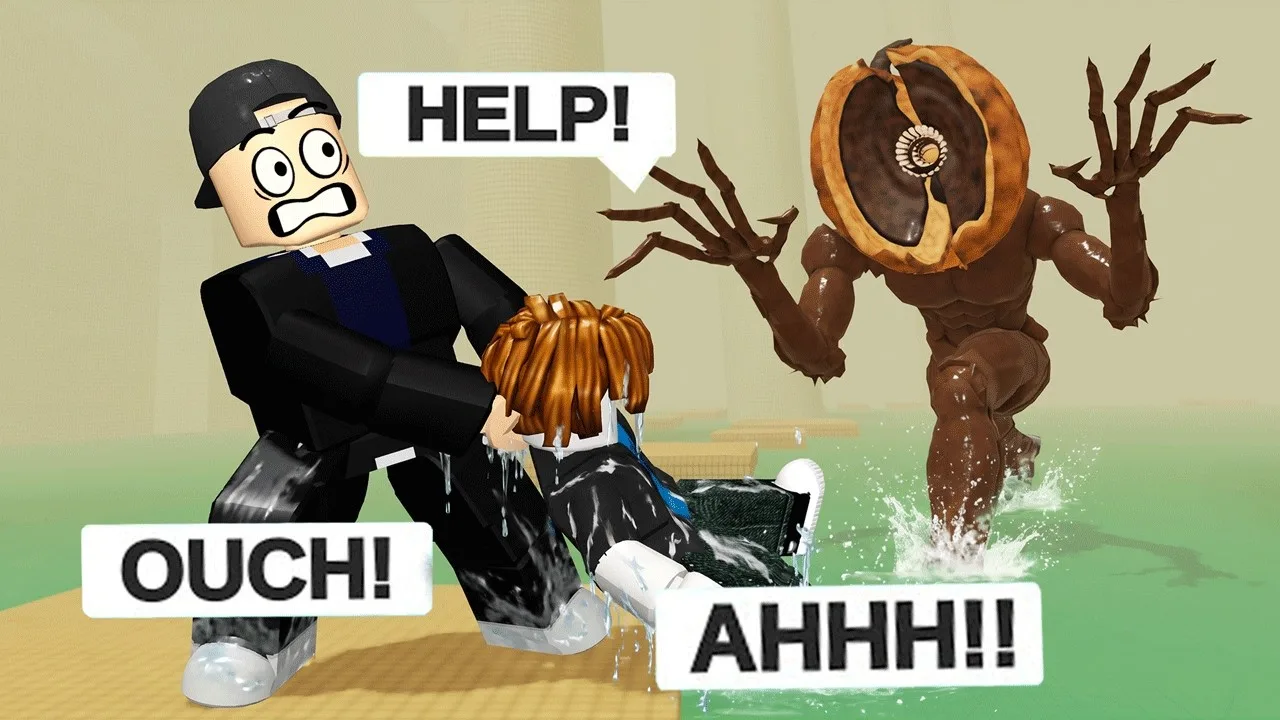
One missed landing can turn a quiet room into a chase. The Don't Splash poolrooms challenge combines platforming, sound-sensitive monsters, and obstacles that change how long you can safely stand still. Reach the exit by keeping your feet out of the water, reading each room’s movement rules, and throwing distractions away from your route.
Start DONT SPLASH on Roblox, then create a party at a lobby portal. You can enter solo or with a party of two, three, or four players. Easy has smaller rooms and more platforms; Normal increases the room size and reduces footholds. Hard unlocks after completing Normal twice.
Keep these map details in mind when choosing your run:
- DONT SPLASH combines the Poolrooms setting with an Obby & Platformer / Runner structure.
- The November 7 update added The Bathhouse, taking players deeper into the Poolrooms.
On PC, move with WASD or the arrow keys, jump with Spacebar, and interact with E. Equip a throwable from your hotbar and left-click to throw it.
Use noise to clear your next crossing
Splashing attracts monsters, and movement through the water is slower. Jumping out does not instantly end the danger: finish the landing on a platform before assuming you have escaped.
Pebbles and bottles create distractions elsewhere in the room. Use them deliberately:
- Identify your next landing and the platform after it.
- Throw into water away from that route.
- Watch which monster responds.
- Cross while the threat is moving away.
Several monsters can occupy a section. Keep watching the others when one follows your throw.
Pick up replacement pebbles from platforms along the route, but avoid detouring into danger just to refill. Throwing Range lets distractions travel farther, while Pebble Skipping increases the number of splashes a pebble makes before sinking.
Pillar Hall and Broken Walkway: Control Your Landings
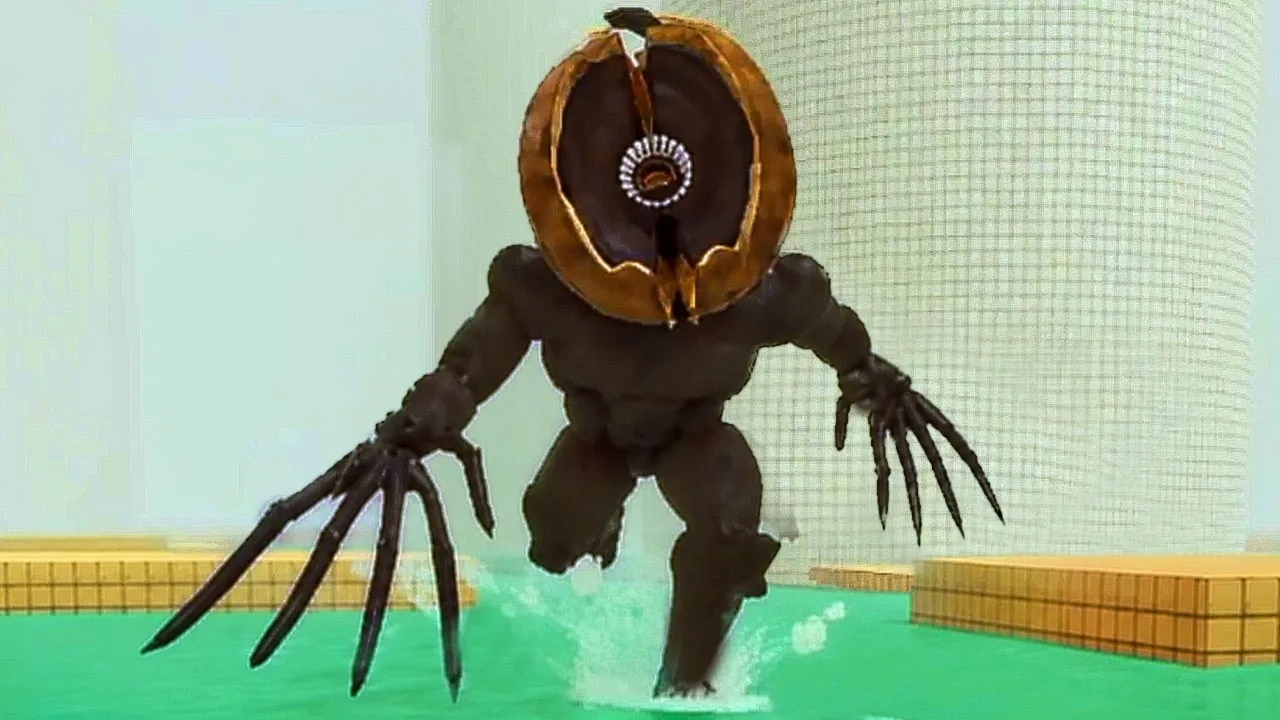
Pillar Hall introduces the basic job: jump between platforms and reach the exit. Follow the directional arrows while checking that the next foothold is actually within reach. An arrow gives you a direction; you still need to choose the crossing.
Use these opening jumps to judge your reach. Aim for a clear landing area instead of repeatedly catching the edge, and check the monster’s position before attempting a wider gap.
Broken Walkway shifts the challenge toward narrow ledges, sharper turns, and less forgiving landings. Some surfaces sit low in the water, making their edges harder to judge.
Shorten your movement when the landing space gets tight. A long jump that worked in the previous room can carry you past a narrow platform here. Look for the next turn before taking off so you do not need to make a large correction in midair.
If judging distance is difficult, try the third-person option in the starting area. Seeing your character alongside the platform can make the landing space easier to read.
Sinking Platforms: Plan Before You Step
In Sinking Platforms, affected footholds descend while you stand on them. Waiting to decide your next move can put you in the water without another jump.
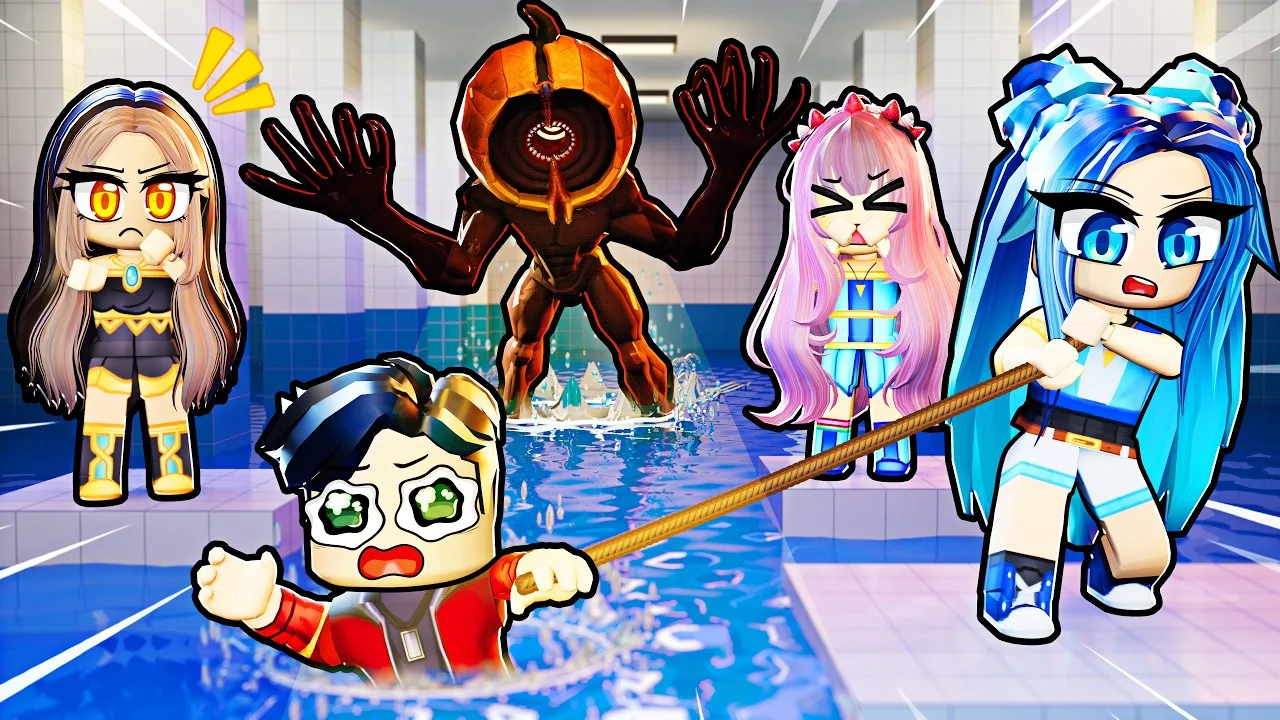
Before stepping onto a sinking platform, identify both your immediate landing and somewhere stable beyond it. Keep moving through the sinking section, then pause when you reach a foothold that stays up.
Do not spend that limited standing time sorting through your inventory. Equip a distraction before leaving stable ground, and throw it before the crossing if a monster is close.
Treat pebble pickups as optional detours. Collect one when your route already passes it; keep going when reaching it would leave you stranded on a descending platform.
Rotating Bridges and Moving Platforms: Read the Motion
These sections both move your footing, but they demand different timing.
Rotating Bridges
A rotating bridge brings its end toward different platforms as it turns. Watch where that end is going before boarding, then ride until it gives you a manageable jump.
The shortest-looking gap is not always the crossing you need. Follow the route’s direction and let the bridge rotate into position instead of forcing a leap toward a distant platform.
If you need to wait, use stable ground when available. Keep checking the monster while watching the bridge; concentrating on the rotation can make it easy to miss a threat approaching your side.
Moving Platforms
Moving platforms change the gap during your jump. Aim for the place the platform will occupy when you land, accounting for whether it is approaching or moving away.
Watch a platform travel before committing to a difficult crossing. Jumping toward one that is retreating can turn a reasonable-looking gap into a miss.
Choose the next landing early, too. Reaching a moving platform is only half the crossing if it immediately carries you away from the following foothold.
Drifting Platforms: Work With the Arrows
Drifting Platforms uses floor arrows that push your character. Standing still does not hold your position, so these platforms offer little time to inspect the room.
Read the arrow before landing. If it pushes toward your next foothold, prepare to continue in that direction. If it pushes away from your route, correct your position promptly and line up the next jump.
Keep jumps controlled. Repeated hopping still requires directional adjustments; it does not automatically keep you centered.
Prepare your throwable before entering a difficult stretch. Equipping and aiming while correcting against a pushing surface divides your attention at exactly the wrong moment. If a pebble pickup requires an awkward turn, continue toward the exit instead.
Memory Tiles: Follow the Revealed Route
The memory section asks you to watch the tiles and remember the safe path. The route becomes visible again at intervals, giving you another chance to read the next stretch.
Memorize a short sequence you can execute accurately. Look for turns and nearby safe tiles rather than trying to retain the entire room at once.
When you lose the route:
- Hold on a safe tile.
- Watch for the next reveal.
- Identify the next few landings.
- Move through that sequence before attempting another stretch.
Avoid copying another player’s movement without reading the tiles yourself. You need to know where to stop if their next jump leaves your view.
Guessing can put you in the water, where movement slows and a nearby monster can close in. Use the repeated reveals instead of turning the final stretch into a string of blind jumps.
Crushing Walls: Leave the Red Zone
Crushing Walls adds moving walls and red warning zones to the platform route. Read the warning before choosing your next landing: a reachable platform is still dangerous if a wall is about to pass through it.
Look across the marked area for an open passage. Move clear of the red zone rather than continuing forward simply because the exit is ahead.
After a wall passes, reassess that lane for your next crossing. Keep watching for the next warning instead of assuming the same route remains open.
A wall can knock you off course and leave you facing the wrong direction. Reorient toward the exit after a hit before resuming your jumps. Check the monsters again, too, especially if the collision caused a splash.
Camera Puzzle: Photograph Four Pillar Numbers
At the final objective, use the camera to photograph four numbers on pillars. Finding a number visually is only part of the task; take its picture so it registers toward the objective.
Search systematically:
- Inspect the pillars along one side of the room.
- Photograph each number you find.
- Check your objective progress before moving on.
- Continue through the remaining pillars until all four are registered.
Avoid crossing back and forth between pillars you have already searched. Plan a route through the room that keeps dry platforms within reach, and use distractions when a monster blocks your next crossing.
In a group, divide the remaining search areas and watch the shared objective progress. Photograph the numbers in your run rather than relying on someone else’s escape code, and keep checking your footing while aiming the camera.
Continue exploring
Don't Splash Monsters: How to Distract and Survive
Learn how Don't Splash monsters react to splashes, use pebbles and flares to create openings, and rescue teammates without putting your own run in danger.
Don't Splash Walkthrough: Beat All 9 Stages and Escape
Use this Don't Splash walkthrough to clear all nine stages, handle moving platforms, solve the camera puzzle, and reach the exit with fewer risky jumps.
Join the community
Official channels for news, updates and player help: